Wire Pumpkin DIY for Fall Decor
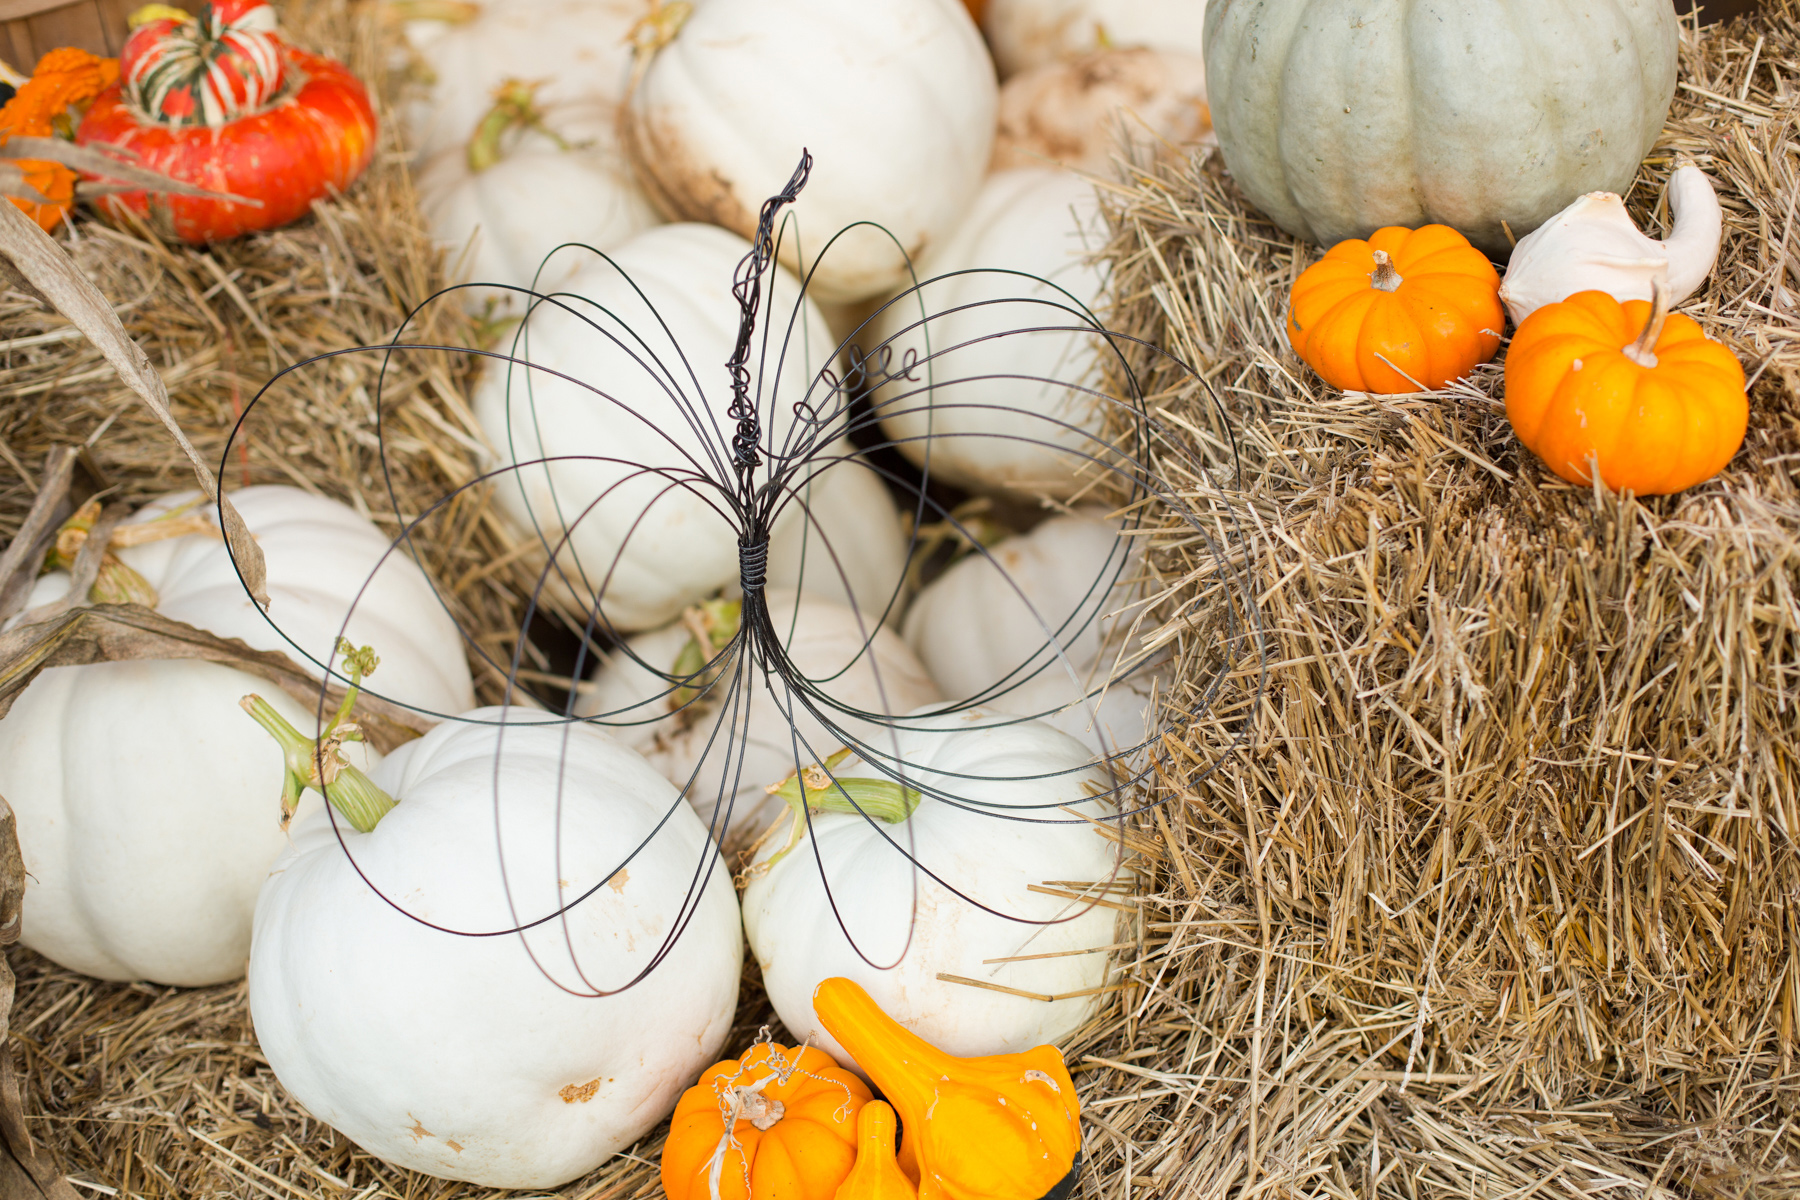
It wouldn’t be Fall without a couple solid DIY projects, right?! That’s what I was thinking! Luckily, I’ve got the easiest and most inexpensive craft for you today: wire pumpkins! These cute squash impersonators require only two supplies and about 5-10 minutes to complete.
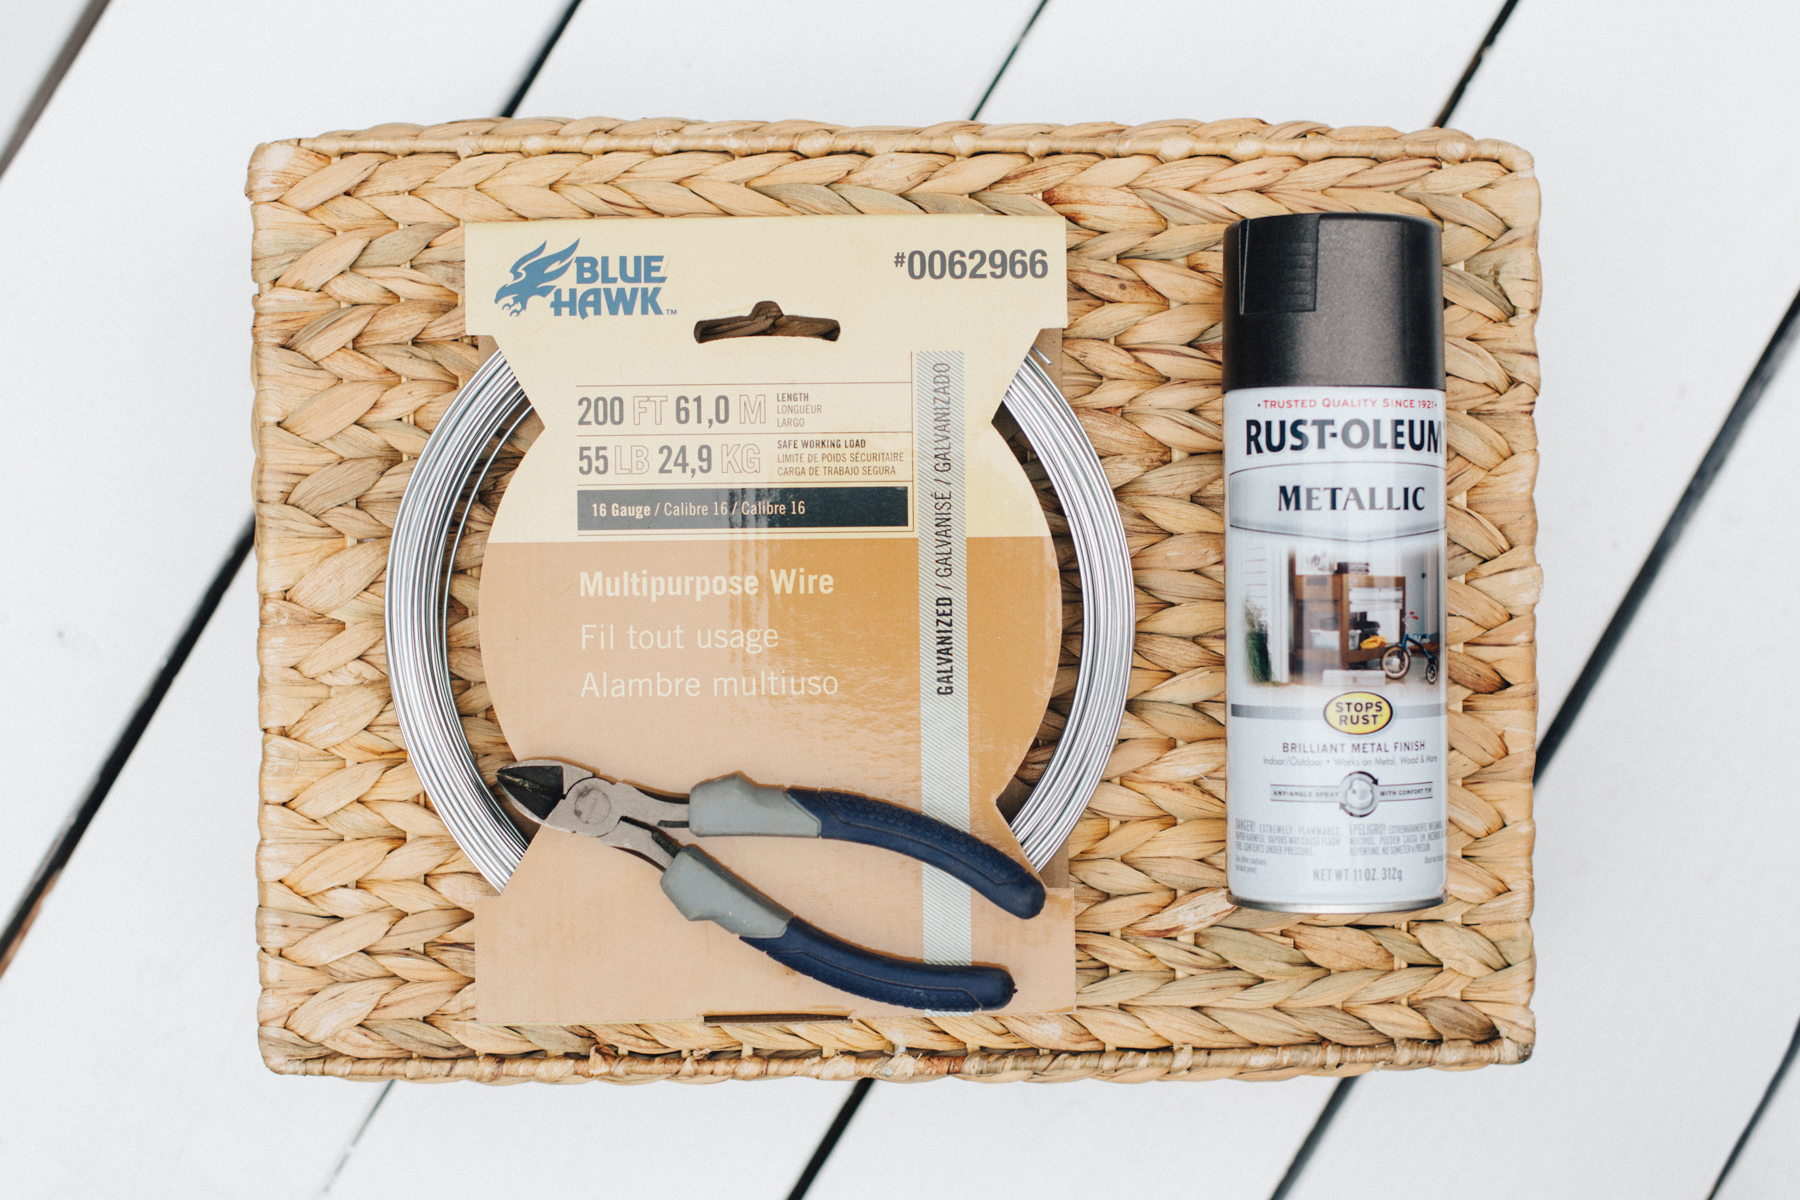
Supplies
- 16 Gauge Wire (or higher, depending on your desired pumpkin size)
- Wire Cutters
(Optional)
Pliers & Spray Paint
THAT’S IT. If you want large pumpkins, like me, I suggest getting heavier duty 16 gauge wire from Lowe’s or Home Depot. 16 gauge is sturdy enough to hold the form of a bigger shape while remaining somewhat easy to maneuver. Smaller pumpkins will require a higher gauge for even better pliability. In fact, you can find wire for small projects like this over at your nearest dollar store. Just make sure whatever you purchase comes packaged in a circle.
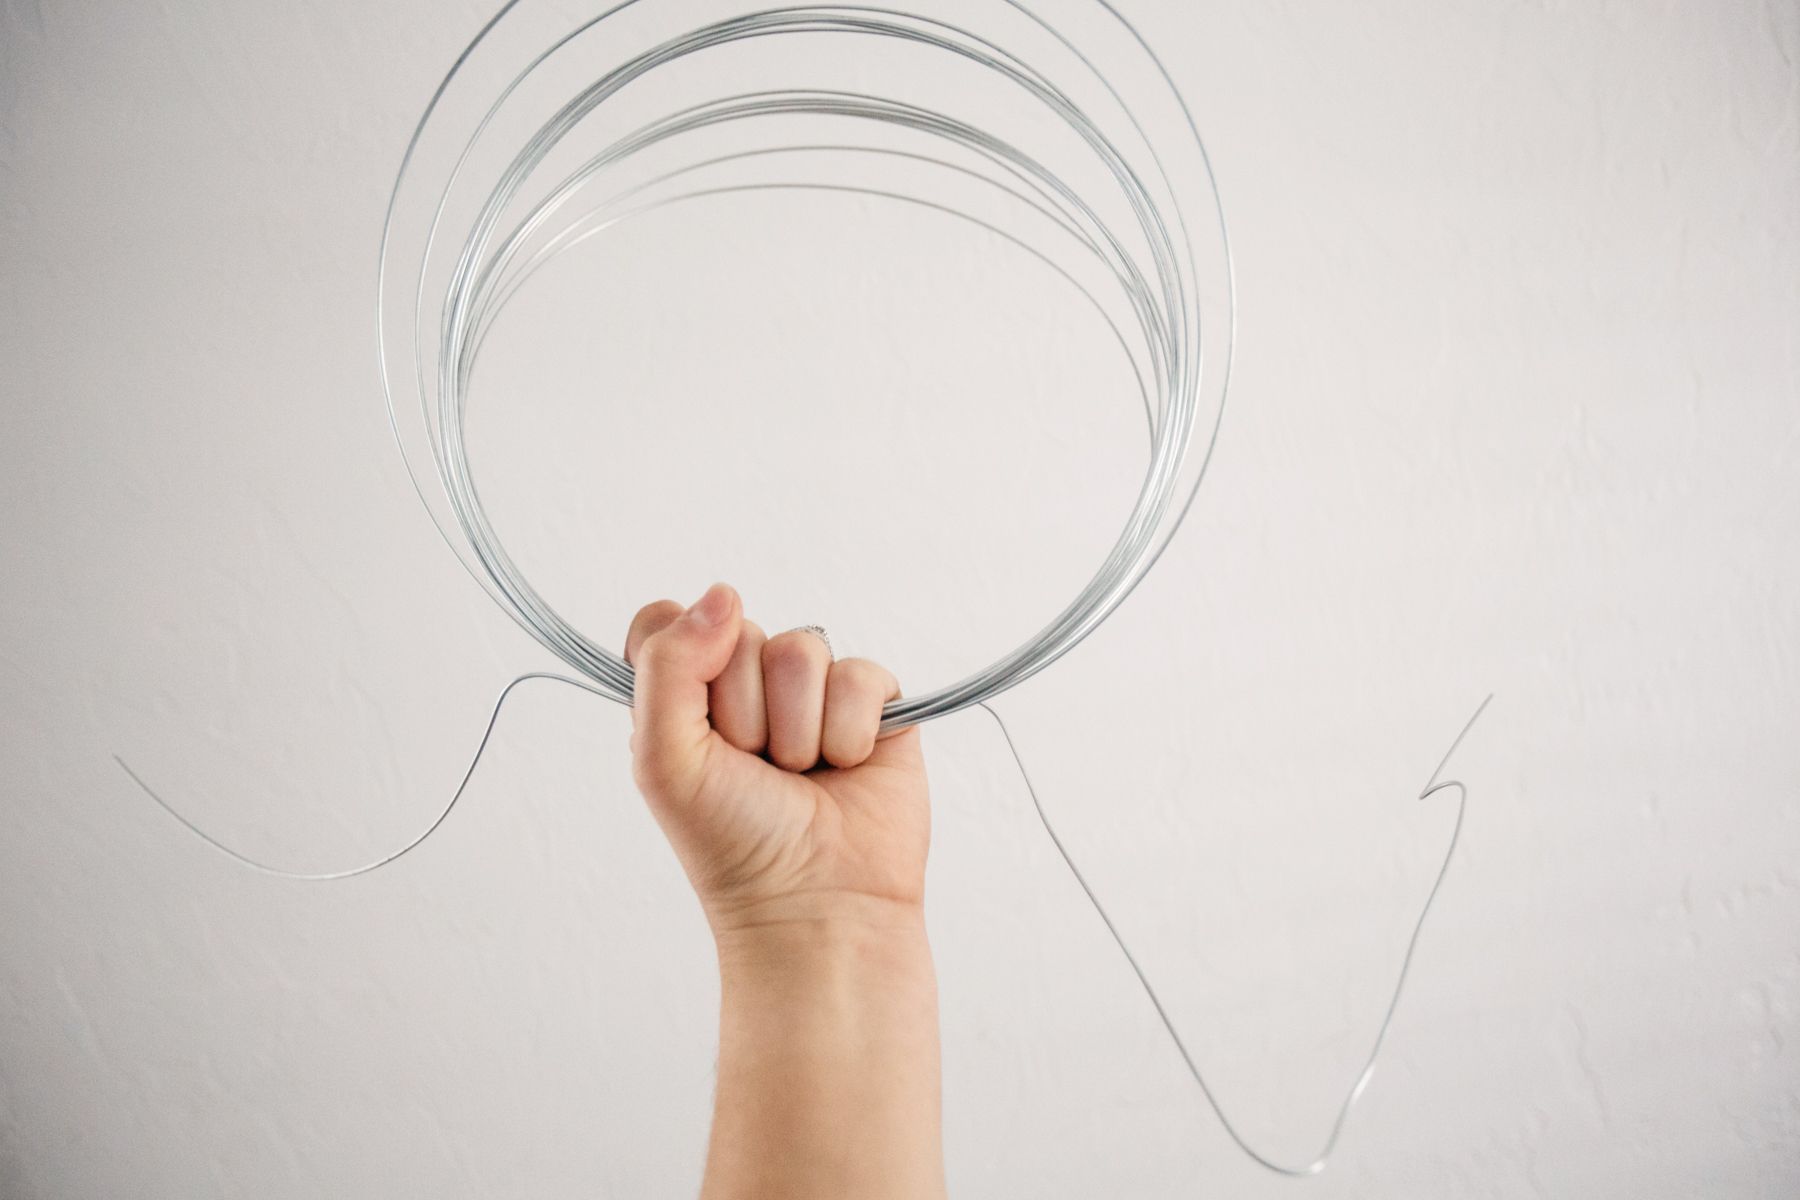
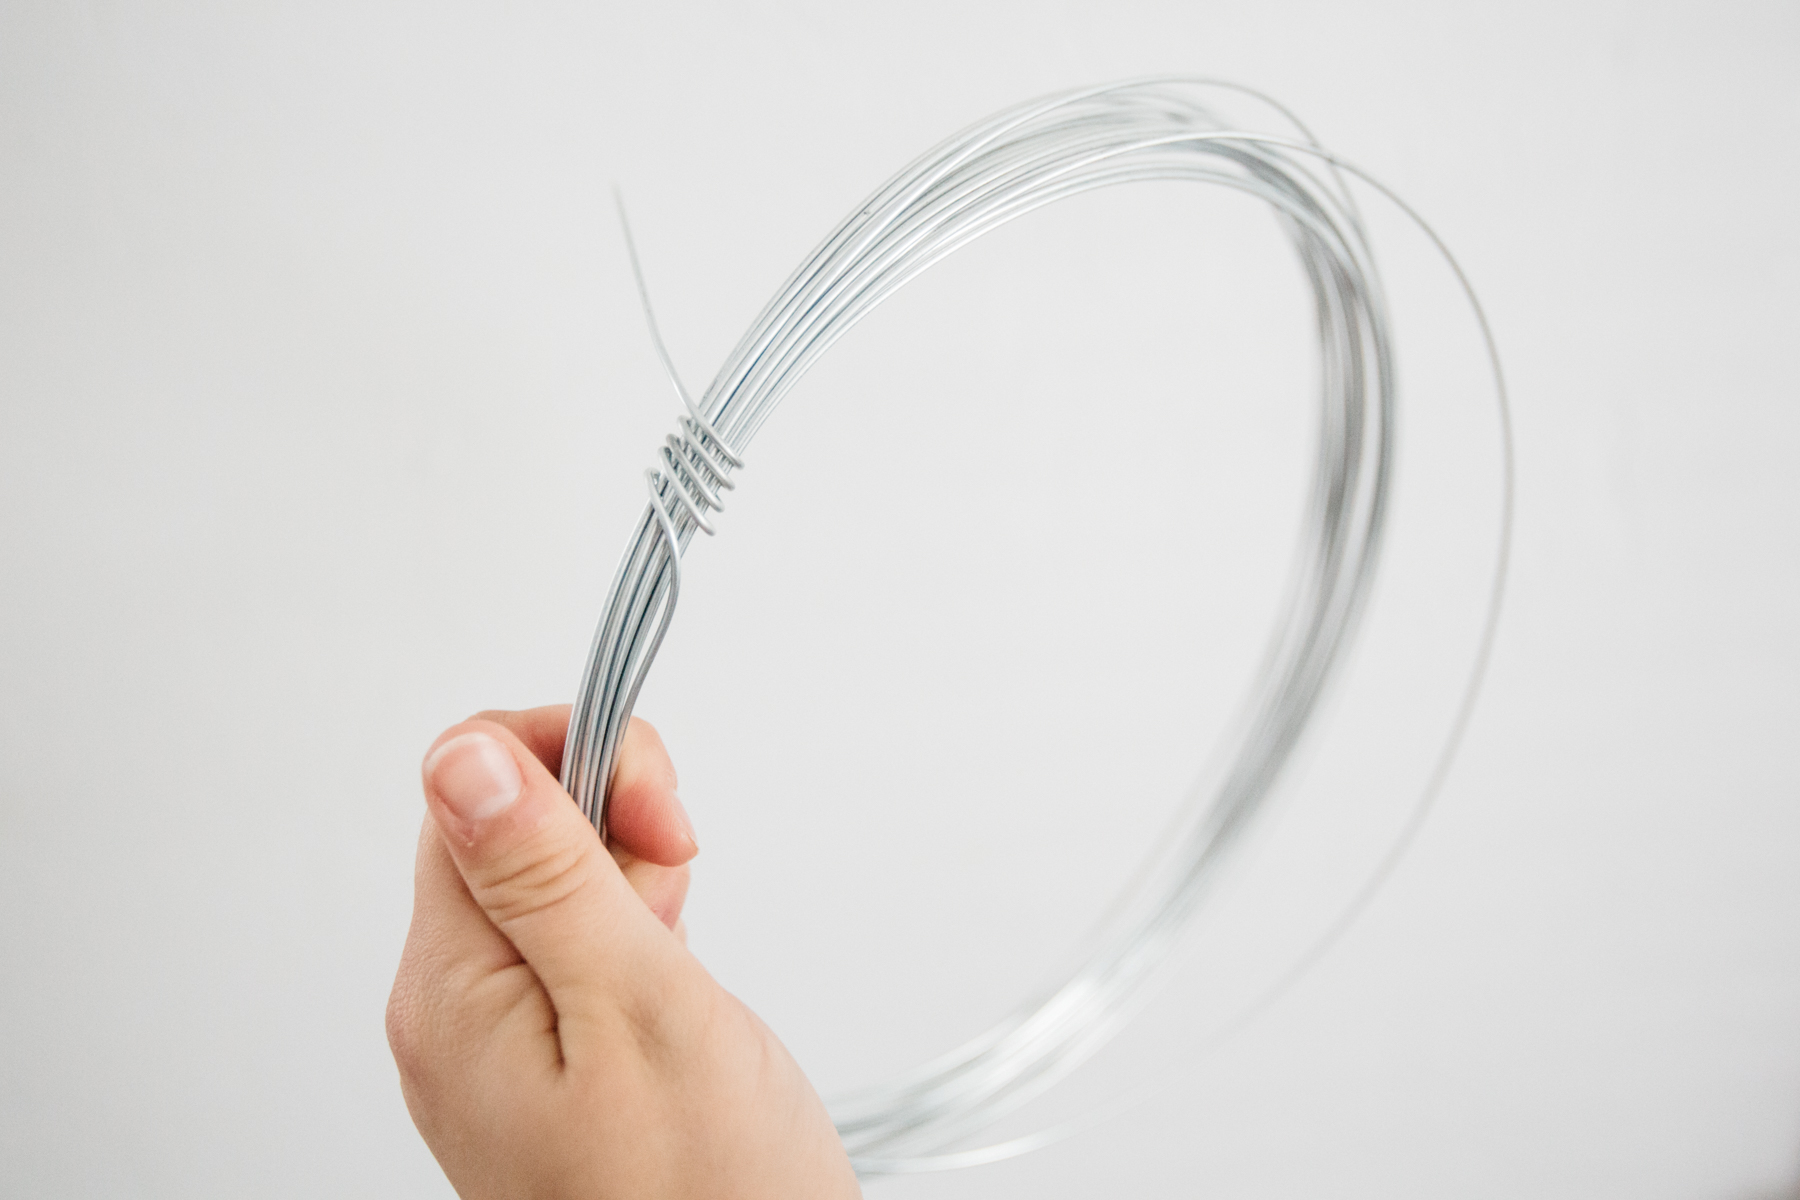
The trick to making these wire beauties so quickly is having the wire already coiled for you. That way, all you have to do is unpackage and count out anywhere from 15-20 loops, holding firmly onto one end. The more loops, the fuller your pumpkin will appear. Be sure to leave the ends free with extra wire on both sides. These pieces will be used to secure the center and create the stem.
Once you’ve got a good grip on your loops, take the smaller end of wire (at least 6 inches) and begin wrapping it tightly around your bundle. You can secure it down with pliers, if needed.
Then, carefully begin pulling your looped wire around the wrapped center. This will take a little finagling, but keep in mind that pumpkins are NOT perfect. Your loops don’t need to be equally spaced or evenly rounded.
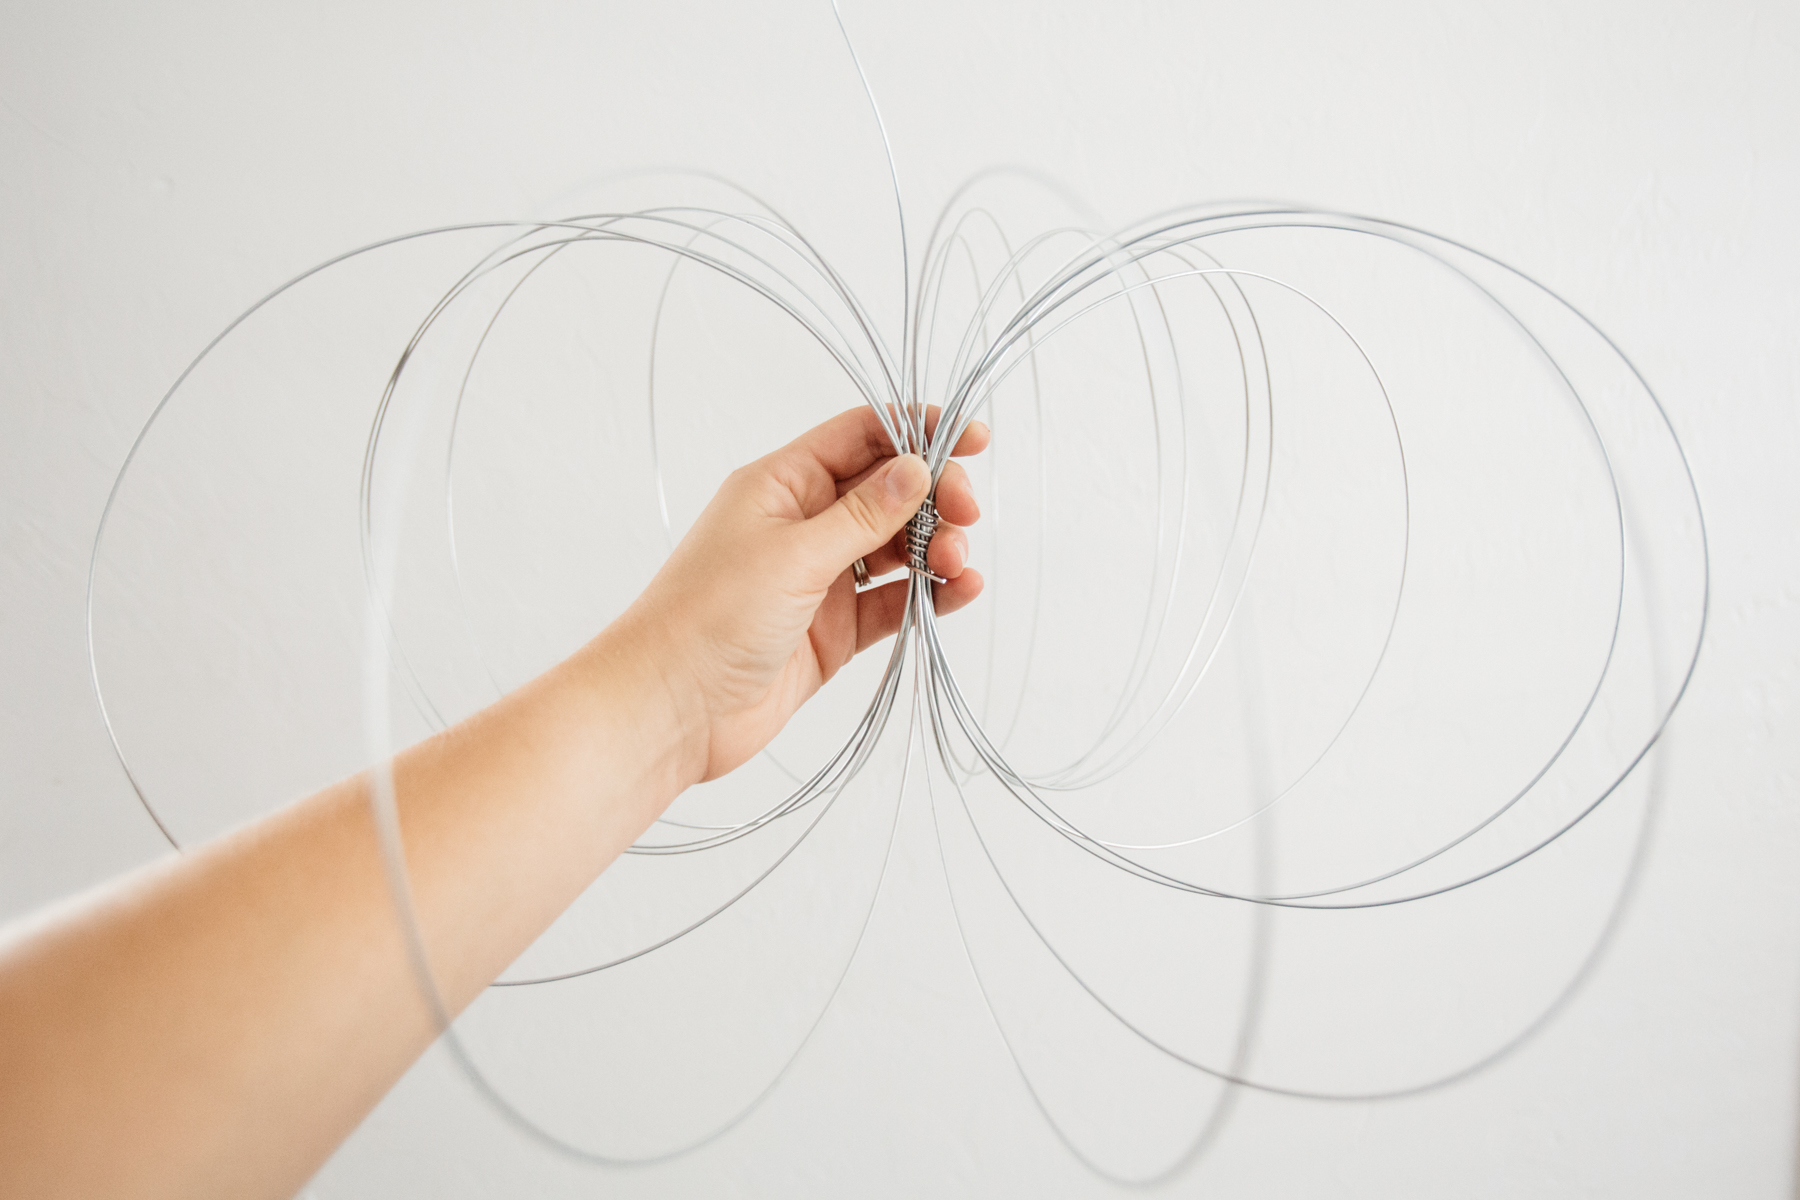
Once you’ve got your pumpkin base shaped, take the last dangling piece of wire and start creating the stem. I suggest folding it a few times to build some dimension before wrapping in various directions. Again, you want to simulate an organic look so feel free to make it tangled. You literally cannot mess this up! And add more wire if you need it, keeping in mind to leave enough length for a curly tendril.

The only thing left to do is spray your pumpkin in any desired seasonal color. I wanted a bronze look for mine but white, gold, and copper are great choices as well. You can even play with your pumpkins height by adjusting your loops into more of an oval formation. I’m planning on making additional pumpkins that are a little taller, as well as a few miniature ones to place around my home.
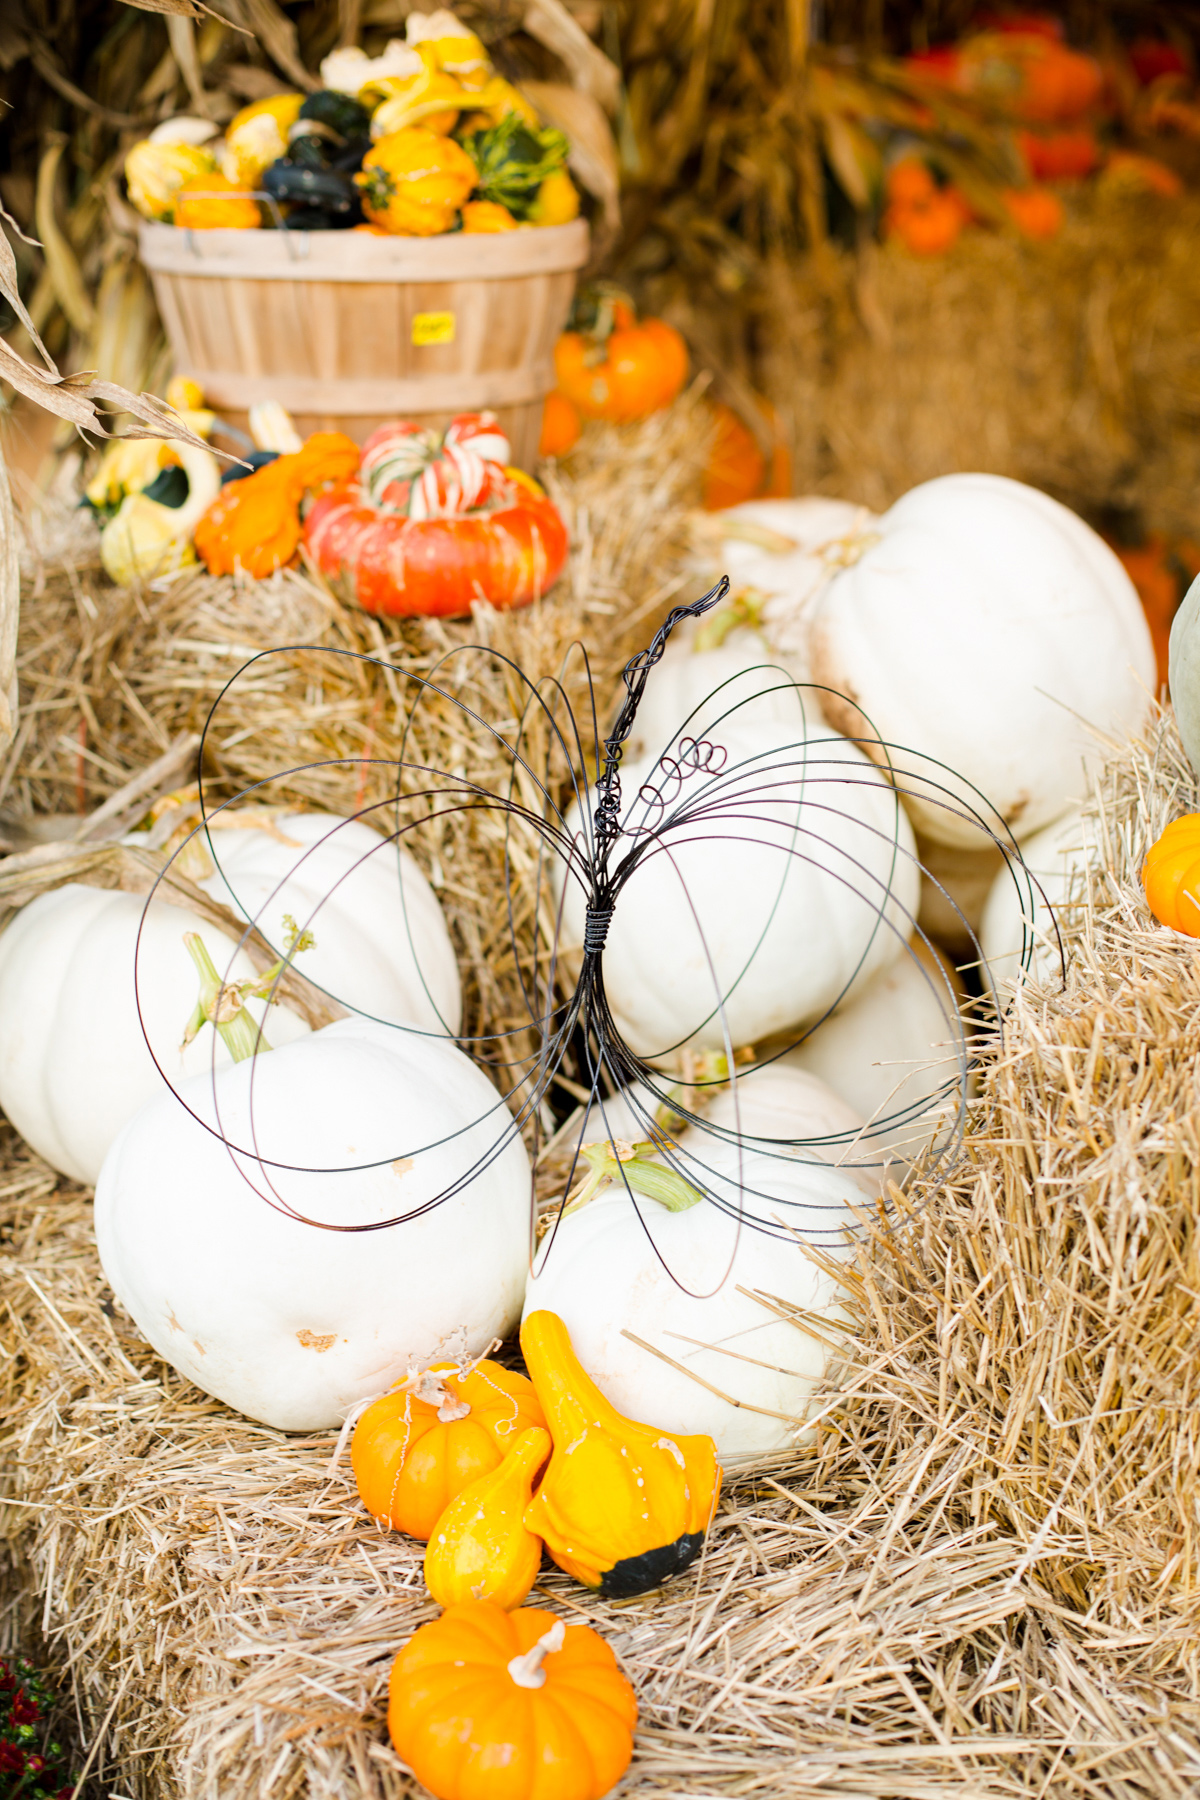
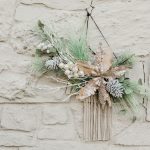
Hope you enjoyed this DIY instructional! If you want another gourd-inspired project, check out my Pumpkin Floral Arrangement from last year. It will be the perfect accessory to your new wire pumpkin piece!